


Covering your Journal:
All measurements are based on the books that I purchased which measure 5x8. If your book is a different size, you may have to adjust the measurements accordingly.
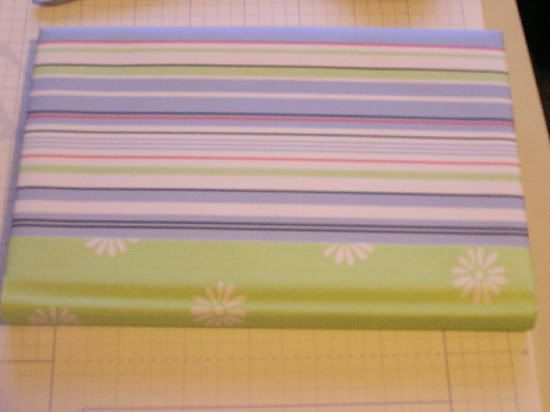
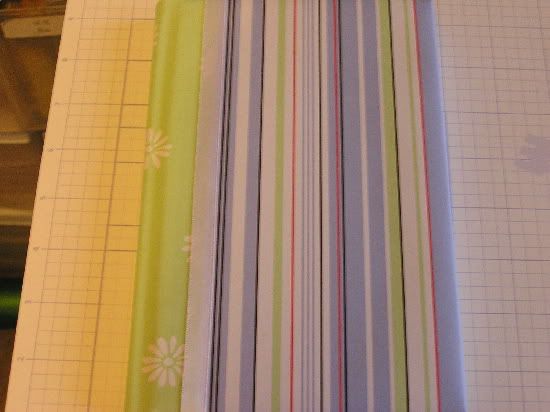
***There are basically 4 steps to the cover. The first is the actual cover. For my books I use 2 pieces that are 6x10 which leaves an inch overlap on the top, side and bottom to tuck into the book. When you look at a book there is a groove on the binding...for this first piece, it is adhered on just to that groove, not over it
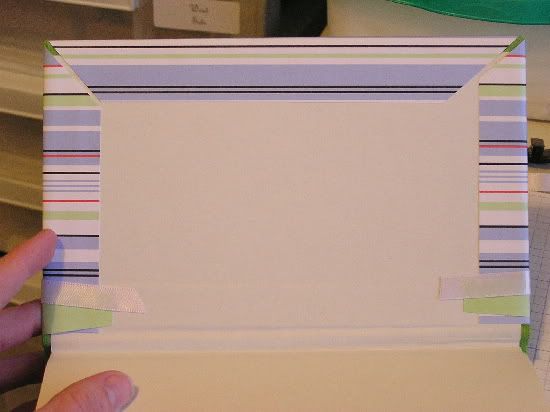
Once this piece is attached to the cover and before you tuck in the edges, you need to miter the corners. To do this, you need to cut almost a triangle out of each corner to almost the edge of the book.

Now fold in and adhere your 3 sides to the inside of the book.
To attach the spine strip, I use 3 pieces of Magic Scraps tape. This is super sticky so it will hold really well.

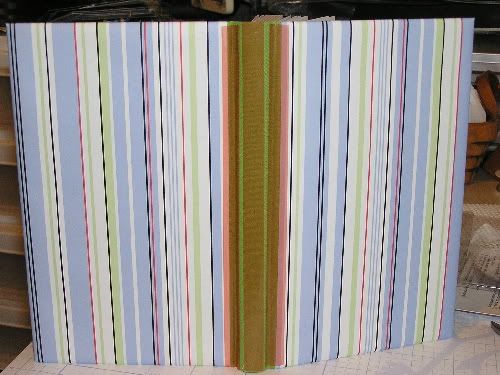
For the spine, I use a piece that is 10 x 2 ½. This leaves me about 1" overlap for the front and back. This actually overlays the first layer on the front by a bit to seal it in.

Make sure you press the tape and this layer of b&t into the groove on the spine.There is a section cut out at the top and bottom for the actual spine and then the tabs are tucked into the cover and adhered down.
The final step is ribbon. Again I use the magic scraps tape on this. The ribbon is about 2" longer than the length of the book so that again it can be adhered inside. I place a piece of magic scraps tape down the full length of the ribbon.
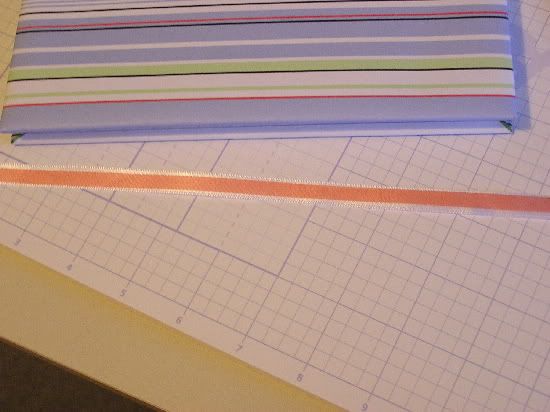
This is then attached to the covers making sure to catch both the cover layer and the spine under the adhesive. This is also a great place to hide those mistakes if you placed your spine on slightly crooked. It basically seals all of the paper in place.
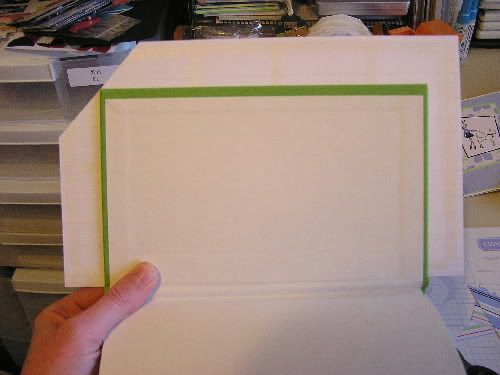
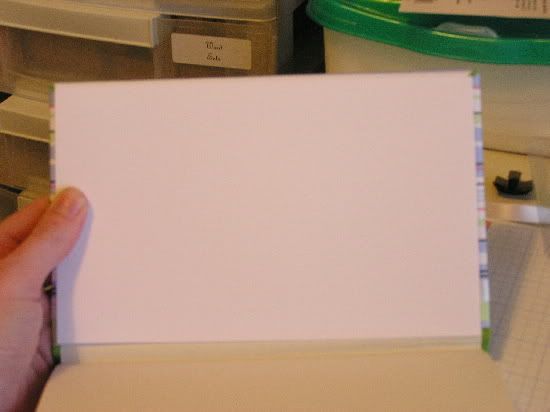
For the inside of the book, I cut a piece of white cardstock 1/4" smaller than the cover and adhere it inside last thing. That way it covers in all of my work and rough edges and also seals in all of the layers to give the whole book extra durability.
It looks like there are a lot of steps here, but it is really so easy. This part, you can easily do in 15 minutes and then you can decorate it however you want. I have found that this is a great project to use your favorite papers on, because it really shows them off.
****************************************************
smiles,
Christi


8 comments:
Thanks for the step by step instructions, I'll have to try this. really cute
Hi Christi, thanks for the tutorial.
Have a great week
Alison
Cute Journal, you know I love doing projects like that, and if you didn't I do. LOL
Happy St. Pat's Day!
really awesome tutorial...what kind of book did you use to start with? is it just a blank journal like the 1$ store ones..?
thanks!
That's generous of you to take the time to show these steps! I love how you use this blog to help others.
Thanks for the tutorial. I did my first one flying by the seat of my pants. Now I have a better idea of how to do it!!
This is a great tutotial. Do you have a larger image of any of your work? I would like to feature you on my blog.
Sincerely,
Cookie
Thanks for the tutorial, now I see what type of books you use. You are much tidier on the inside than I would be!!
Post a Comment